Hi, my name is Chris from Calgary, Canada. Wolfgang invited me to write this guest post after I sent him pictures of my completed frame.
Background
There’s something special about bringing old family photos to life in a modern digital display.
But what do you do when you have a space that’s too narrow for a traditional screen?
I faced this exact challenge and came up with an ingenious solution: a multi-screen digital frame powered by three Raspberry Pi Zero 2 W.
Here’s how I did it.
The challenge: Finding the right frame
I wanted a way to display thousands of family photos – most of which were lower quality but rich in sentimental value.
My space was tall and narrow, meaning a standard single-panel digital frame wouldn’t work.
The solution? Stack three ASUS VA24EHE monitors vertically in a custom-built wooden frame.

The hardware setup
To power the displays, I used:
- 3 x Raspberry Pi Zero 2 W – Affordable, compact, and capable of running 1080p content.
- 3 x ASUS VA24EHE monitors – 24-inch 1080p IPS panels with slim bezels, making them an excellent fit for a seamless vertical display.
- 256GB microSD cards for each Raspberry Pi – Large enough to hold an extensive library of photos.
The software: Pi3D PictureFrame
For displaying the images, I, of course, used Pi3D PictureFrame. It offers smooth transitions, customization options, and Wi-Fi access to update images remotely.
Overcoming networking challenges
One of the biggest hurdles I faced was reliably networking the Raspberry Pi devices to my Windows 11 computer.
I had a lot of trouble connecting via SSH the first time after installing the SD card in the RPi. I’ve since learned that a reboot fixes that issue. Seems obvious now, but it wasn’t at the time!
For Windows users, I suggest using the power shell as a terminal.
I assigned static IP’s to the RPi’s in my router. I gave up trying to network to the RPi’s based on names, and decided to do it through IP’s. Thus, that is why I wanted the IP’s static.
I also had to turn on network discovery for private networks (not on by default) on my Win 11 computer.
Also, following the basic installation, I would advise Windows user to do the following:
sudo apt install wsdd

sudo systemctl enable wsdd

sudo systemctl start wsdd

sudo smbpasswd -a pi
Then, for Windows viewers, you can run the following command in Power Shell to map a network drive:
net use X: \\192.168.50.143\pi /user:pi <PASSWORD> /persistent:yesI spent hours trying to get Crontab to turn my monitors on and off. The info on this page, while helpful, wouldn’t work for me.
Hours of trial and error with ChatGPT just led in circles. Then I tried Copilot, and it figured it out right away.
I need a bunch of “prefixes” to the code as the crontab couldn’t execute the wlr-randr command (it would work at a user prompt in the terminal but not work in crontab until I added all the preamble):
SHELL=/bin/bash
NO_AT_BRIDGE=1
PWD=/home/pi
LOGNAME=pi
XDG_SESSION_TYPE=tty
MOTD_SHOWN=pam
HOME=/home/pi
LANG=en_GB.UTF-8
PATH=/usr/local/sbin:/usr/local/bin:/usr/sbin:/usr/bin:/sbin:/bin:/usr/local/games:/usr/games
TERM=xterm-256color
USER=pi
SHLVL=1
XDG_SESSION_ID=260
XDG_RUNTIME_DIR=/run/user/1000
DBUS_SESSION_BUS_ADDRESS=unix:path=/run/user/1000/bus
TEXTDOMAIN=Linux-PAM

#Turn off display every day of week at 21h30
30 21 * * * /usr/bin/wlr-randr --output HDMI-A-1 --off

#Turn on display every day of week at 7h00
00 07 * * * /usr/bin/wlr-randr --output HDMI-A-1 --on
Note from Wolfgang: Chris had many oversized images in his Pictures library, which apparently demanded too much of the underpowered Raspberry Pi Zero and caused black screens. Installing this automatic resizing script solved the issue.
The frame: Rustic with character
The frame itself was handcrafted from rough-sawn fir, maintaining its natural patina for a rustic aesthetic. To bring out the grain, I applied
- Two coats of Enduro-VAR urethane, followed by light sanding to remove slivers.
- A third and final coat for added durability.
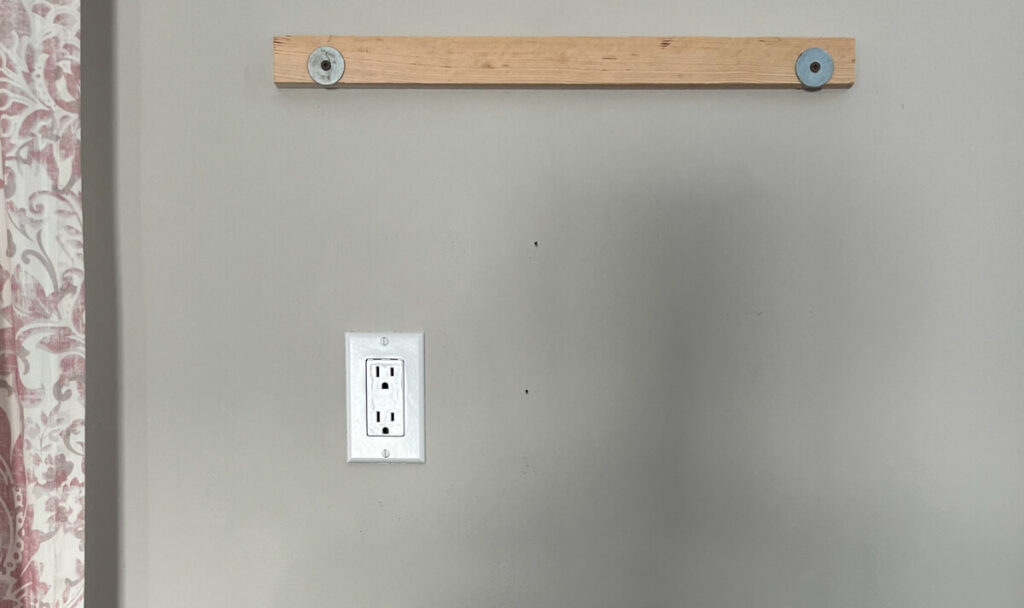
The frame’s mitered corners were reinforced with two 3/8” dowels for each joint, ensuring structural integrity. It was mounted to the wall using a French cleat system, making it sturdy yet removable if needed.

Final dimensions
- Overall frame size: width 24-1/4″ (62cm) x height 42-3/4″ (109cm) x depth 2-1/2″ (6.4cm)
- Monitor depth: 1.75” (4.4cm) – ideal for a low-profile installation
Managing Photos Wirelessly
Each Raspberry Pi is equipped with a 256GB SD card, and I can add photos wirelessly over my home network – no need to physically swap out storage devices.
The end result
The finished project is a stunning, vertically stacked digital frame that fills a unique space while preserving precious family memories. The combination of a handcrafted wooden frame, carefully chosen monitors, and Raspberry Pi-powered software makes this a one-of-a-kind digital display.

It proves that with a little ingenuity, you can tailor a digital picture frame to fit any space – and any aesthetic.
Was this article helpful?
Thank you for your support and motivation.
Related Articles
- Expand your digital picture frame use cases with Pi3D integrated USB media stick support
- How to automatically remove duplicate images from your Pictures folder (2024 Edition)
- Beginner’s guide to Pi3D PictureFrame’s configuration.yaml file
- How to only show portrait photos on your Raspberry Pi photo frame
