As any digital picture frame aficionado will tell you, it is crucial that you can add and delete images as efficiently as possible. The higher the number of great photos on your frame, the better the overall appreciation will be.
I already wrote about how to sync your picture frame with Google Photos, although Google has since closed off the API that relied on. But I also got some user requests for a Google Drive sync. So here we are.
While a shared album on Google Photos is a really easy way to allow family & friends, it has one disadvantage: Only the Google Photos album owner is allowed to delete photos. Others may add photos but they are not allowed to delete them.
But if you are a couple enjoying your digital frame in the living room, you may want to have full autonomy in photo management without having to ask your significant other first before deleting a photo.
This is where a Google Drive folder can be a better choice, as you can define the rights that you give to a user: Add, edit, or delete.
So in this article, I will show you how to use rclone to mirror the contents of a Google Drive folder with your Pictures folder on your Raspberry Pi photo frame.
Before you start: on a Pi 4 or Pi 5 running picframe3, this is no longer the default way to get photographs onto a frame. The installer asks how photographs should arrive and sets up Syncthing and a Samba share for you, and the frame notices new files within seconds — see the 2026 build guide. Use rclone when the photos really do live in Google Drive and have to stay there, for instance because that is where the rest of the family puts them.
This solution is cost and advertising-free as it is an open-source development. There is also a very helpful Rclone forum.
And since you can access Google Drive from both your mobile device and desktop computer, you have a super-easy way to manage your photo library on your frame. And you can super customize it, giving some users full rights and others only the possibility to add photos.
Installing rclone for Google Drive
I have written about rclone as a Dropbox access on the Raspberry Pi on this blog earlier, but this time I will focus on the Google Drive connection.
Please note: You also need to install rclone on your Mac/Linux device to run the provided CLI instructions with browser access. Otherwise, the CLI won’t recognize the command.
The official documentation is meticulous, but it may be a bit overwhelming for the casual user, so here is a quick summary:
If you haven’t yet installed rclone on your Raspberry Pi, open a Terminal window and enter
curl https://rclone.org/install.sh | sudo bash
Next, we’ll start the configuration process with
rclone config
- Choose “n” to create a new remote.
- Call it something like “googledrive”.
- Look up and enter the corresponding number for Google Drive. When I first wrote this it was “16”, but rclone’s provider list has grown a lot since and that number is now wrong. Type
driveat the prompt instead — rclone accepts the provider name and you never have to count down a list again. - Press Enter at “Option client id”.
- Press Enter at “Option client secret”.
- Next, define the Scope, i.e., the level of access you want to grant. Enter “2” for read-only access. We don’t want the picture frame to do anything else than read your images.
- Press Enter at “Root Folder ID”.
- Press Enter at “Service Account”.
- Say “n” to Edit advanced config.
- Say “n” to “Use web browser to automatically authenticate?” — the Pi is headless and has no browser.
- rclone now prints a command to run on the computer you are sitting at, the one with a browser. It looks like this:
rclone authorize "drive" "<a long blob of configuration>"
Copy that whole line, including the quoted blob, and run it in a Terminal on your Mac, Windows or Linux machine — this is why you installed rclone there too.
- A browser window opens. Choose your Google account and grant rclone permission.
- Your own computer then prints a block of text beginning
{"access_token":. Copy the whole block and paste it back into the Terminal window connected to the Raspberry Pi, at the “Paste config token here” prompt.
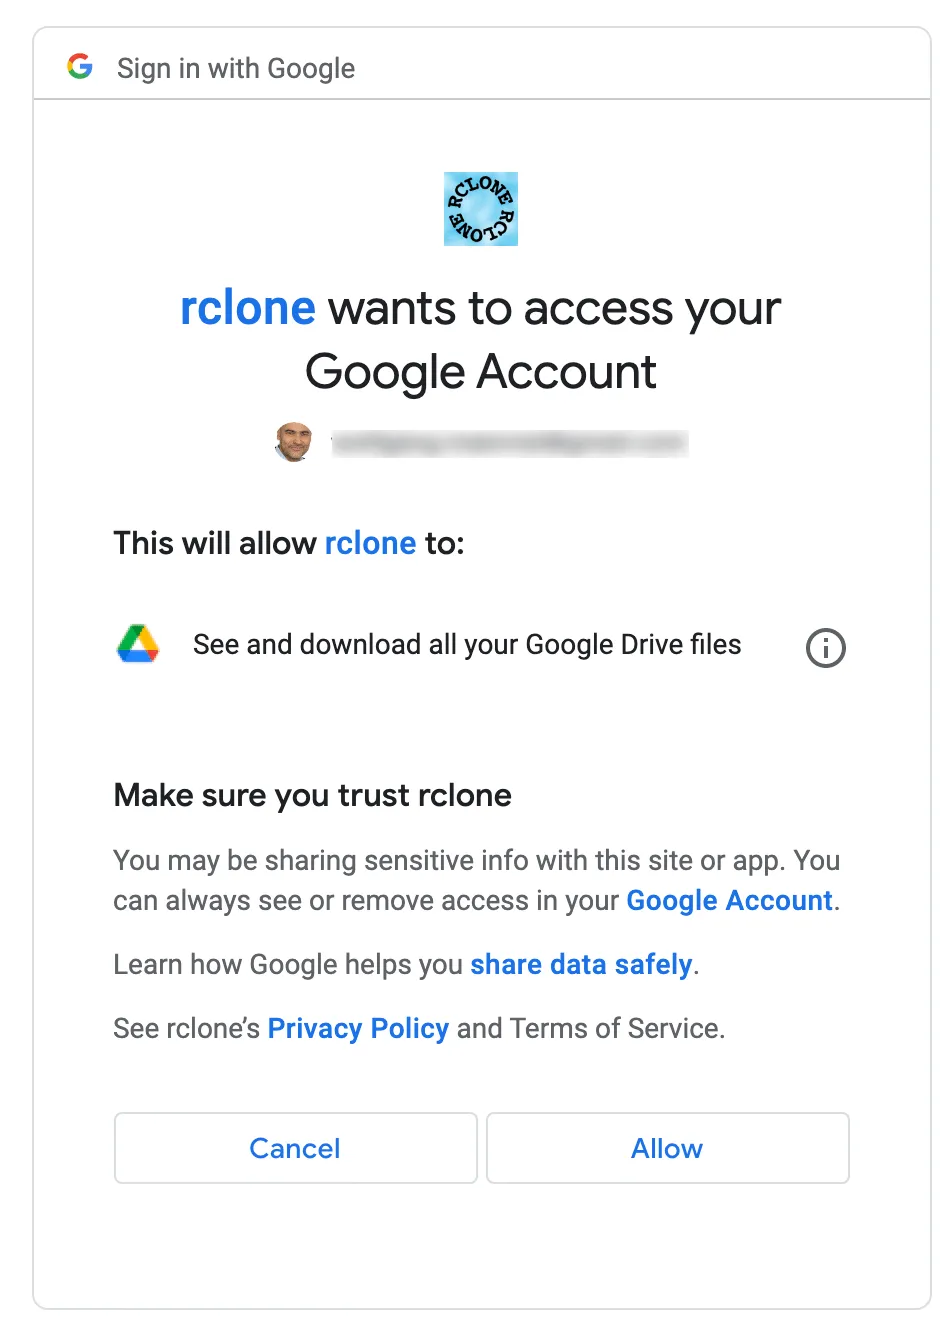
This step changed and the old version of this article was wrong. It used to tell you to open a link on the Pi, grant permission and paste back a short verification code. That was Google’s out-of-band OAuth flow, and Google retired it in 2023 — those links now fail. rclone authorize on a machine with a browser is the flow that replaces it. I have corrected the steps from rclone’s current documentation, but I have not re-run the whole sign-in on a fresh Pi since the change, so treat the exact prompt wording as needing a re-test.
The screenshot below is from the old flow and is kept only to show the shape of the dialog.
14. Confirm with “y,” and you will see your new remote connection.
15. Enter “y” to confirm and “q” to quit.
Choosing the Google Drive folder to clone
Create a new folder in Google Drive, or pick an existing one. In my example, the album is called “PictureFramePhotos”.
I want this folder to sync with the Pictures folder on my Raspberry Pi, which is ~/Pictures. I used to write that as /home/pi/Pictures; Raspberry Pi OS no longer creates a default pi account, so ~ is the spelling that is right on every frame. On picframe3 the frame reads whichever folder you named during the install, so point rclone at that one.
The command syntax for doing this is:
rclone sync [source] [destination]
In our example, the command line would be
rclone sync googledrive:/PictureFramePhotos ~/Pictures
Your Google Drive folder will be the master, and everything in this folder will be cloned onto the folder on your Raspberry Pi.
By the way, instead of viewing your images in Google Drive in list view like this
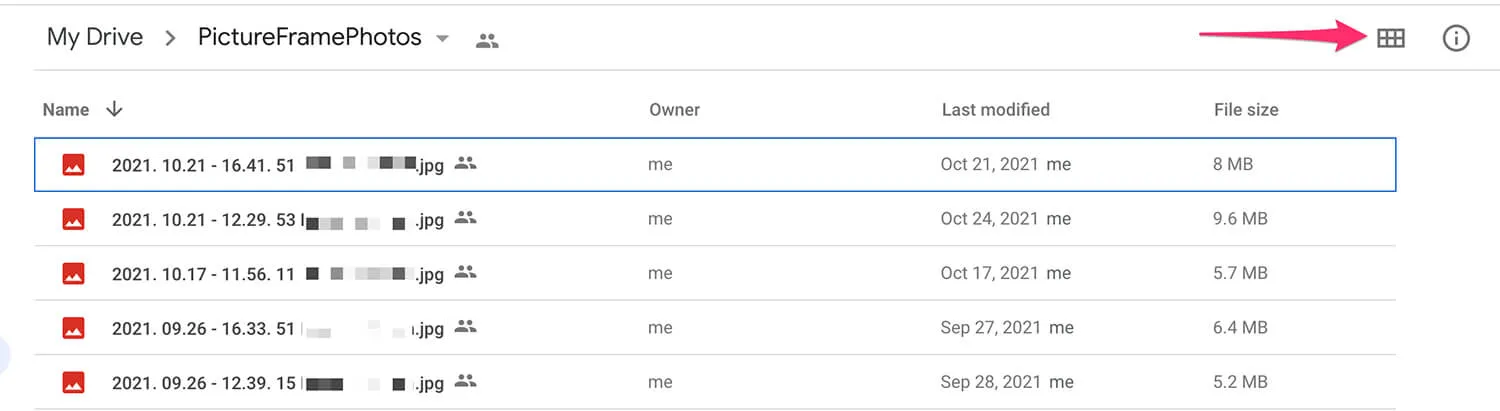
you can also switch to grid view to make them appear like
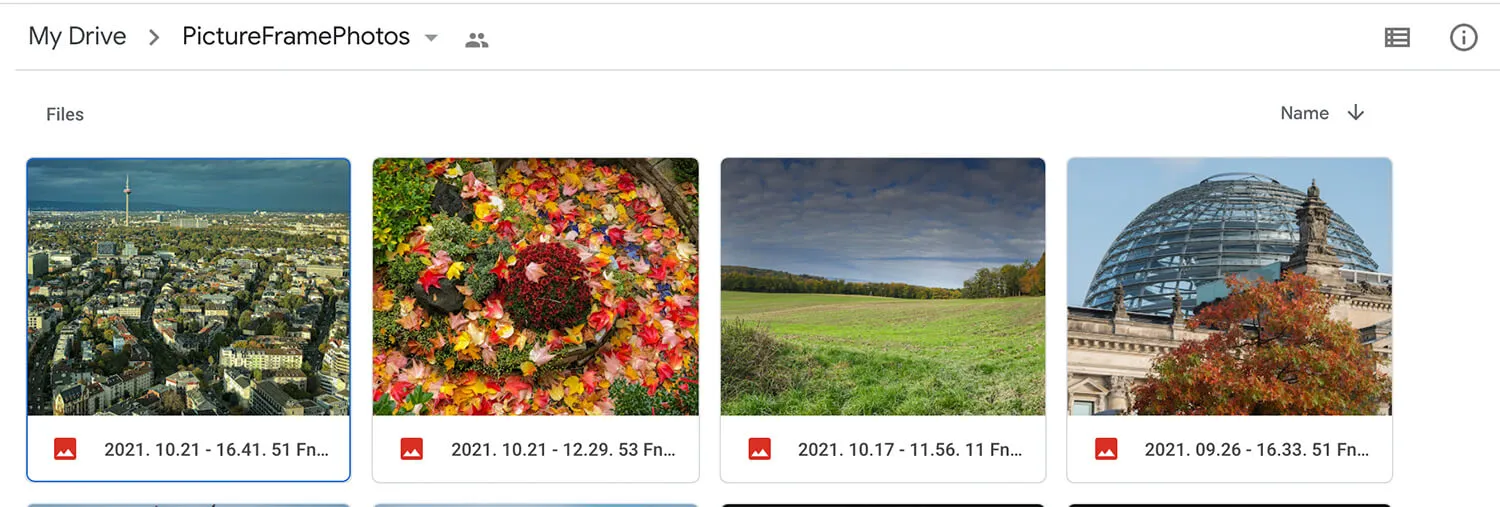
which makes it much easier to manage your photo collection. (Those two screenshots are from the 2021 Google Drive interface; the button has moved since, but the option is still there.)
Automatic sync using crontab
To automatically clone your Google Drive folder with your digital picture frame every hour, we only have to add one line in crontab.
Enter
crontab -e
and add this line at the end:
0 */1 * * * /usr/bin/rclone sync googledrive:/PictureFramePhotos $HOME/Pictures
Save and close.
Conclusion
As Google Drive allows you to share a folder with other people, this is an easy way to let friends & family add their images so that they appear on your photo frame.
No more excuses for not often enjoying new photos on your frame!
Was this article helpful?
Thank you for your support and motivation.