I recently came across a piece of technology that is very cheap but most useful.
It is a small HDMI Video Capture USB Stick that allows me to output the Raspberry Pi HDMI video signal to my iMac, either full screen or as a window. I am most intrigued by this cheap little device, and I thought I’d share it with you. (It cost me $/€ 10 in 2021. These sticks are still made and still cheap, but I have not re-checked the price.)
Five years on, the stick has become more useful rather than less, and it is worth saying why at the top. picframe3, the software I build frames with now, runs on Raspberry Pi OS Lite and draws straight onto the screen with no desktop at all. There is therefore no desktop for a screen-sharing tool to share. A capture stick does not care: it simply shows whatever comes out of the HDMI socket, boot messages and all.
Background
When I test, configure, or program on my Raspberry Pi, I almost always access the Pi through my Mac Terminal app. I never have a keyboard or mouse connected.
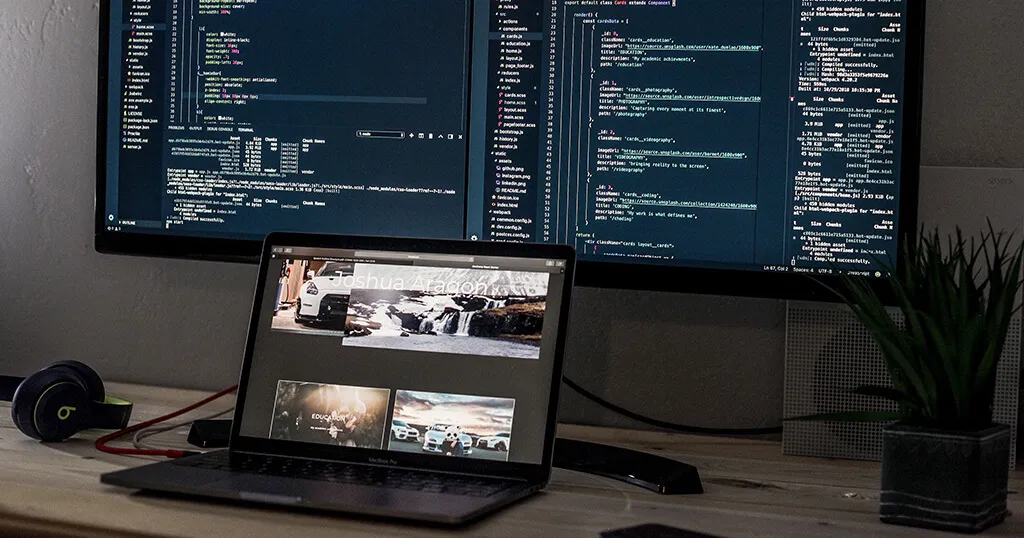
I typically borrowed my wife’s secondary monitor whenever I needed to see the actual screen output, to test, e.g., the picture frame functionality.
No more. Now I simply connect the Raspberry Pi HDMI output to this USB stick, and I have a super crisp image on my iMac. No need to lug around monitors around the house anymore and to have multiple screens on the desk.
The title of this blogpost is actually slightly limiting. This solution works with any Mac, PC, or Linux computer. All it takes is the USB stick and a free app.
But you can use VNC for that, you might say. For certain use cases, maybe. But I will show you where the big difference between VNC and this solution lies.
The HDMI Video Capture Card
That little device that I am talking about is called HDMI Video Capture Card, but it’s actually a USB stick and not a card. But since these things used to be a lot bigger, they had to be inserted as a card in a computer slot. But these days, everything is highly integrated, and many things fit onto a USB stick.
There are many models out there and they all cost between 10 and 20 $/€. They all seem to work with the MacroSilicon MS2109 HDMI-USB chip, so it probably doesn’t matter much which one you pick. I bought this one.
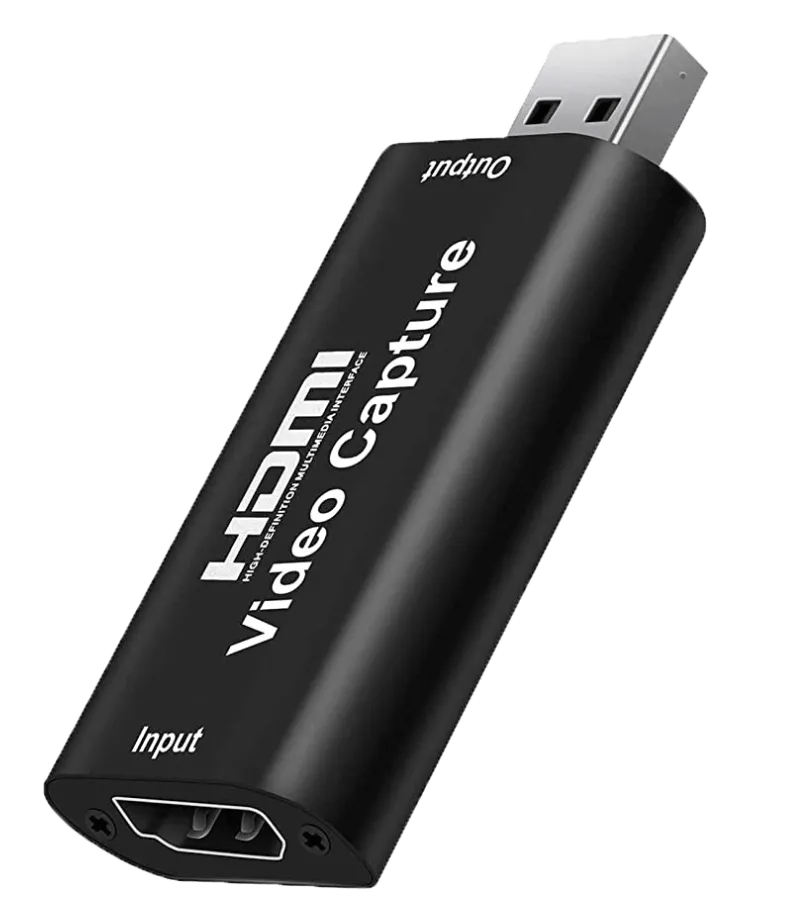
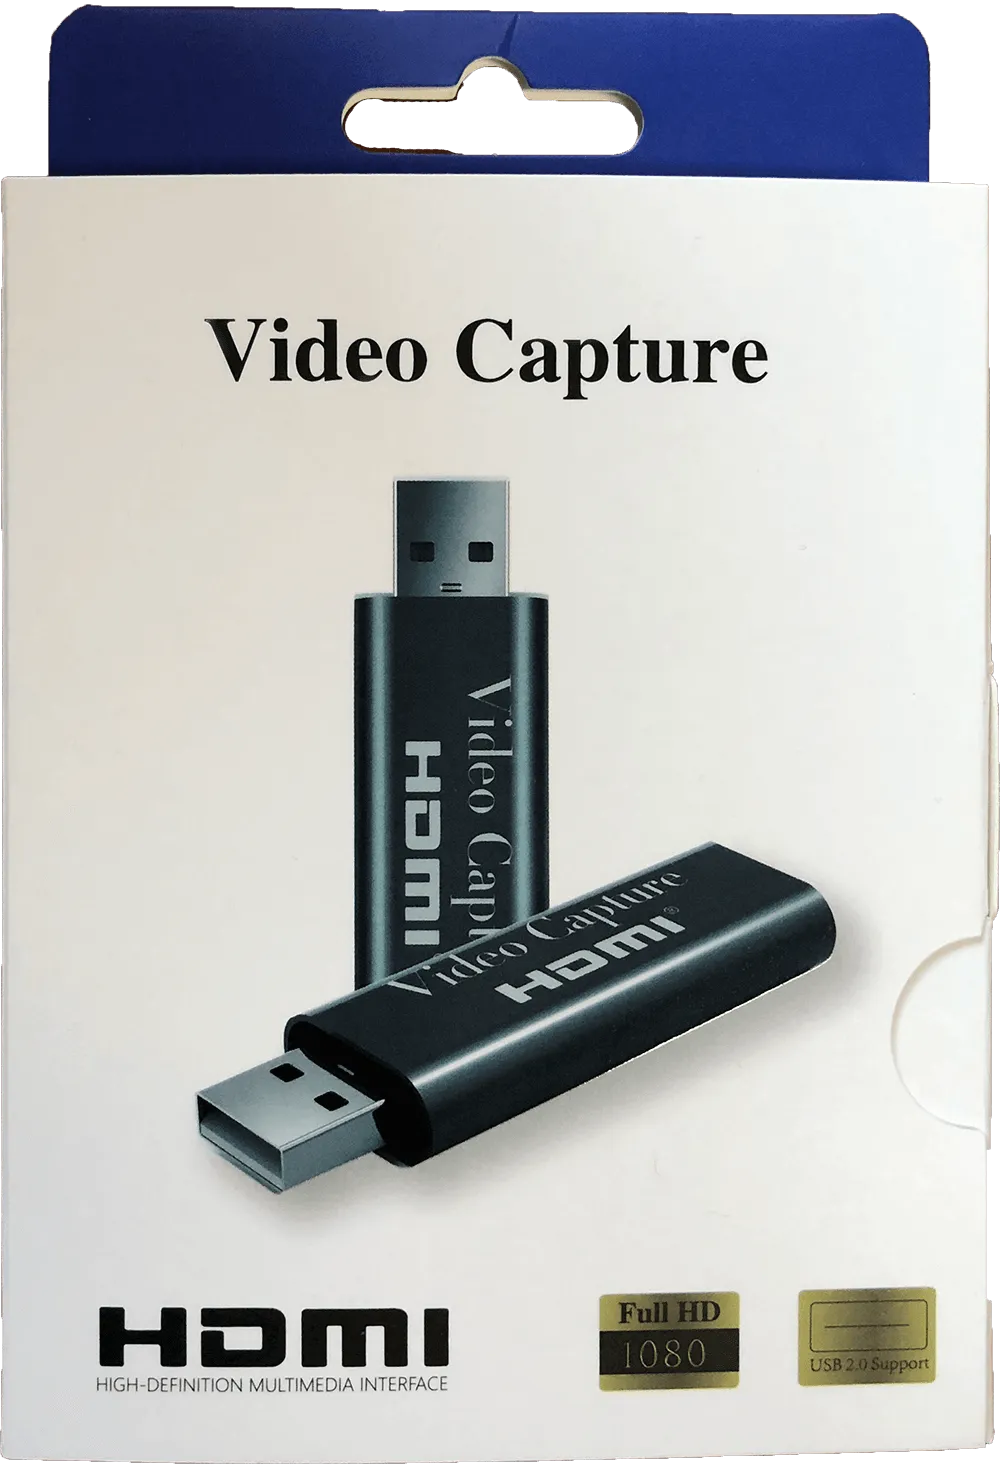
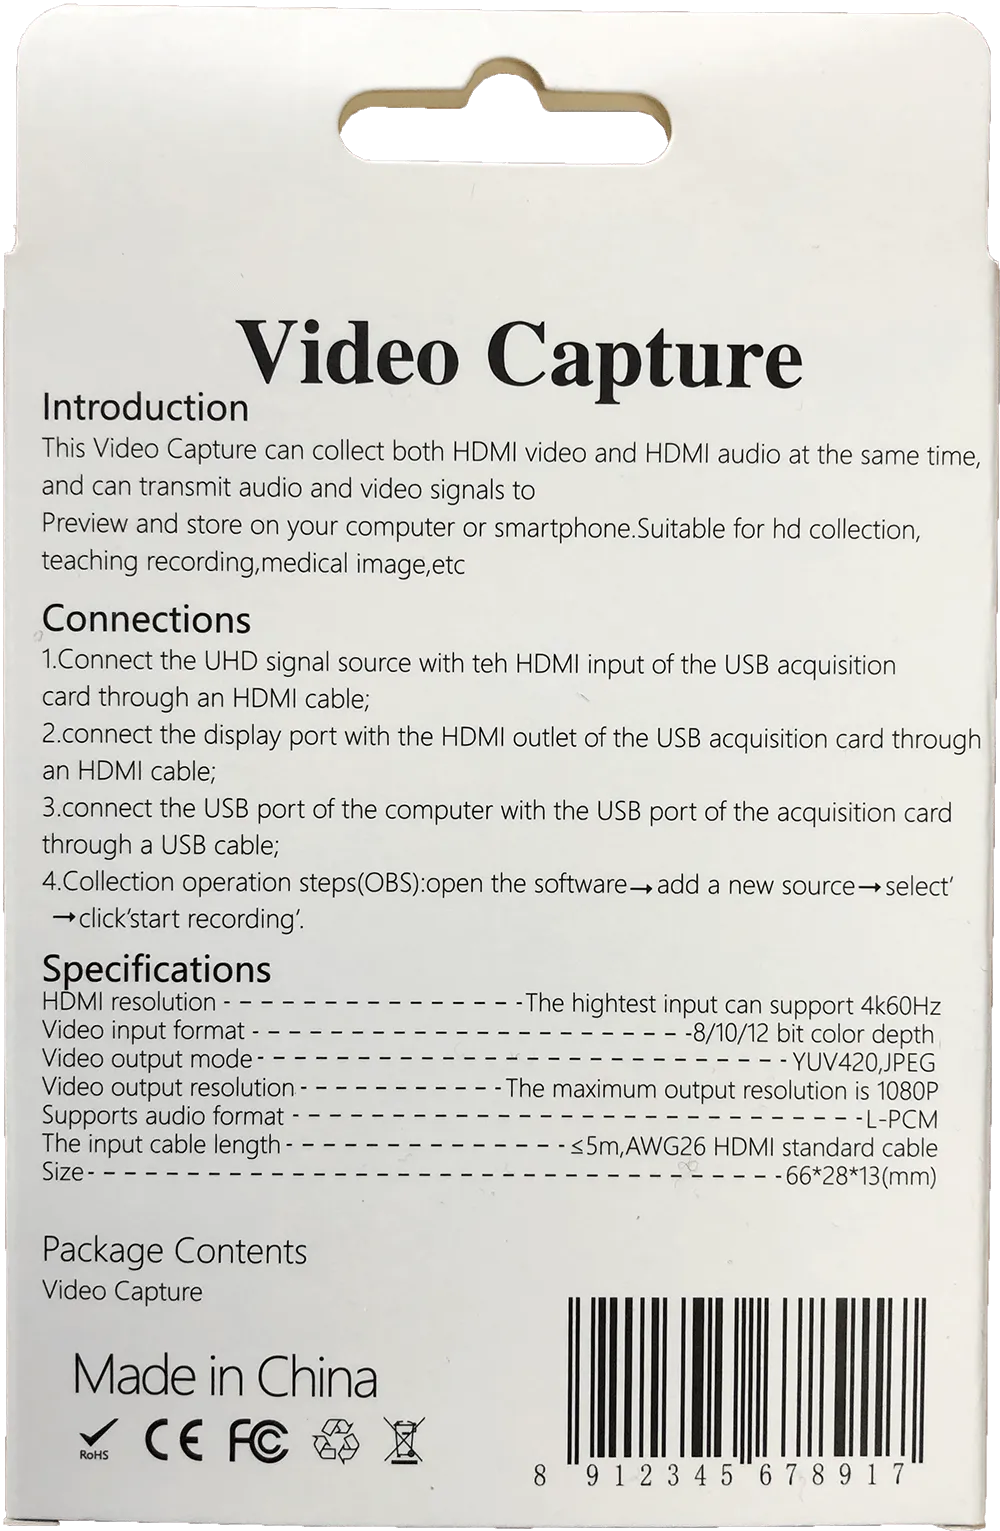
This is an HD (1920 x 1080 px) stick, you can also get 4K (3180 x 2160 px) ones. The HD version also accepts 4K signal input but converts it to HD.
No installation of any drivers is necessary. Just connect you Raspberry Pi HDMI cable with the adapter and plug in into a free USB port.
What you do need is a small app called Quick Camera. This app written by Simon Guest is highly rated on the App Store, up to date, and free.
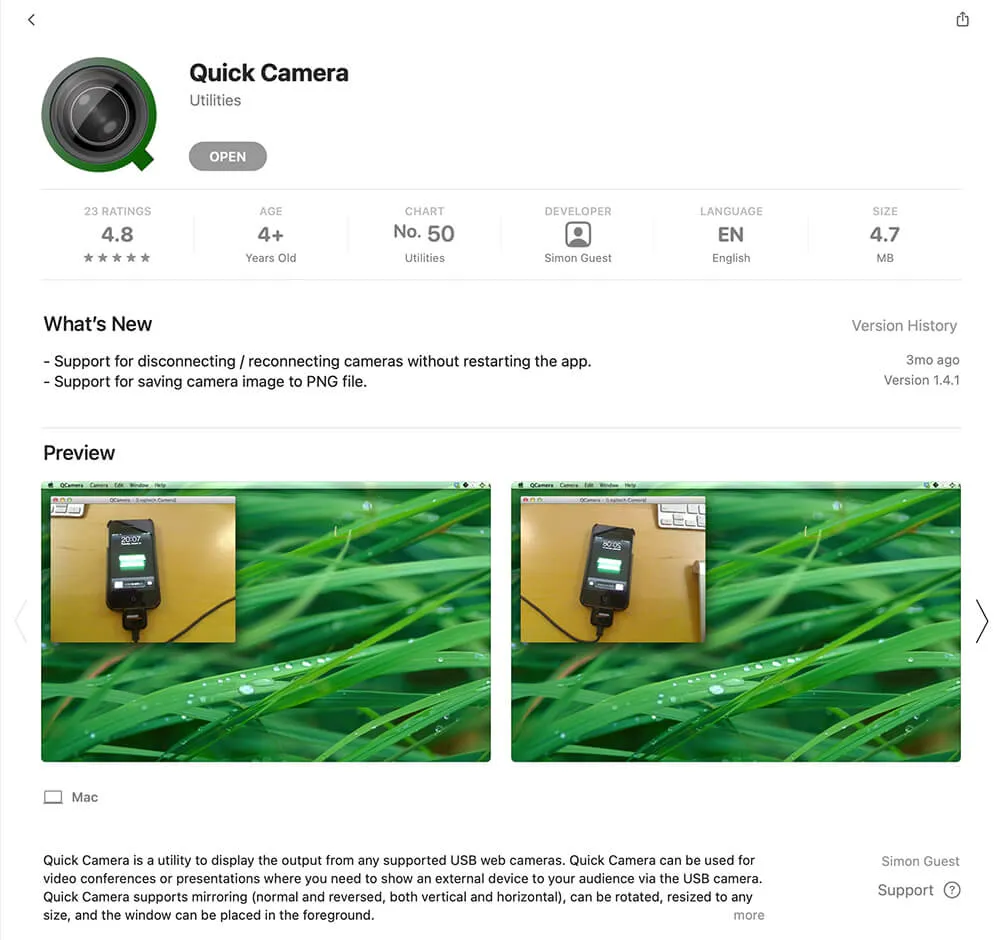
It was originally meant to be a utility to display the output from USB cameras. But you can connect any HDMI output to it, like a Raspberry Pi.
All you need to to do is to select the Source and you are connected.
If you don’t see anything, you have to reboot your Raspberry Pi first as some models turn off the HDMI output if no monitor is detected at boot.
You can adjust the size of the screen, make it borderless, or full screen. The output is tack sharp, and I didn’t notice any latency. The frame rate is the same 30 fps that I have configured on my Raspberry Pi.
You can rotate, mirror the output, or save as a photo.
The one thing that doesn’t work, because this is just an HDMI input device, is the use of a keyboard or mouse. But to test digital picture frames software, I don’t need that anyway. But you can, of course, connect a keyboard and a mouse to your Pi while you look at the screen on your Mac.
I am sure there is a similar app in the Windows App Store. If you know of one, please let me know and I will add it here.
Now let’s talk about why using VNC is not an alternative option for me.
But you can use VNC for that, you might say. For certain use cases, maybe. But I will show you where the big difference between VNC and the video capture card lies.
The VNC alternative
Virtual Network Computing (VNC) is a graphical desktop sharing system that allows you to mirror a remote computer screen.
The Raspberry Pi supports it, but you need to install a package and allow it in the Pi configuration settings.
Here is how this works.
This whole section is now legacy. It was written in 2021, when the Raspberry Pi desktop was X11 and RealVNC was what raspi-config installed. Both of those have changed: the desktop has been Wayland since Bookworm, enabling VNC in raspi-config now sets up wayvnc rather than RealVNC, and the menu numbering has moved. tightvncserver in particular is an X11 server — on a current image it is the wrong tool and will not show you the desktop you are looking at. More to the point, Raspberry Pi Ltd has since released Raspberry Pi Connect, which is the official screen-sharing and remote-shell tool now and needs no port forwarding at all. If you want the VNC-style option today, start there and not here. I have left the instructions below as they were, for anyone still running an old card.
On the Pi, type
sudo raspi-config
and choose “3 Interface Options”, “P3 VNC” and enable the VNC Server.
This will install the RealVNC Server, which I never managed to get to work on my Mac. So, I always use the TightVNCServer instead, which is explained below.
While you are in the config settings, make sure that you boot to the desktop, as VNC only works in the graphical user interface mode. (1 System Options, S5 Boot /Auto Login, B4 Desktop Autologin)
Back in the console, type
sudo apt install tightvncserver -y && vncpasswd
Give a VNC password, I believe it has to have a minimum of six letters.
When you are are asked
Would you like to enter a view-only password (y/n)?
just enter “n”.
To start a VNC session, enter
vncserver :1
You can add a few more config settings to this command, but the short command is typically enough for our purpose.
To end it, you type
vncserver -kill :1
If you get any error message, have you booted the Pi to the GUI?
To connect to it, go to your macOS finder and under “Go” say “Connect to Server”. Type
vnc://192.168.178.81:5901
and replace the above IP address with the one of your Raspberry Pi. Enter your password, and you can see the screen.
Video Capture Card vs VNS
I do prefer the Video Capture Card solution for two reasons.
First, it works in both console and GUI mode. I can observe the boot process of the console, which is not possible with VNC.
That matters more for picture frames than it might sound. picframe3 runs on Raspberry Pi OS Lite and renders directly to the screen, so there is no desktop session for a screen-sharing tool to pick up — a capture stick is the only way to watch what the frame is actually doing. And even where there is a desktop, as on the Bookworm-era Pi3D build, you cannot judge a crossfade over VNC: the frame rate is far too low to tell a smooth transition from a stuttering one.
Second, the image quality is vastly superior. The VNC image is rather blurry and has a frame rate of only 1-2 fps compared to 30 fps with the full HD or 4K resolution of the video capture stick.
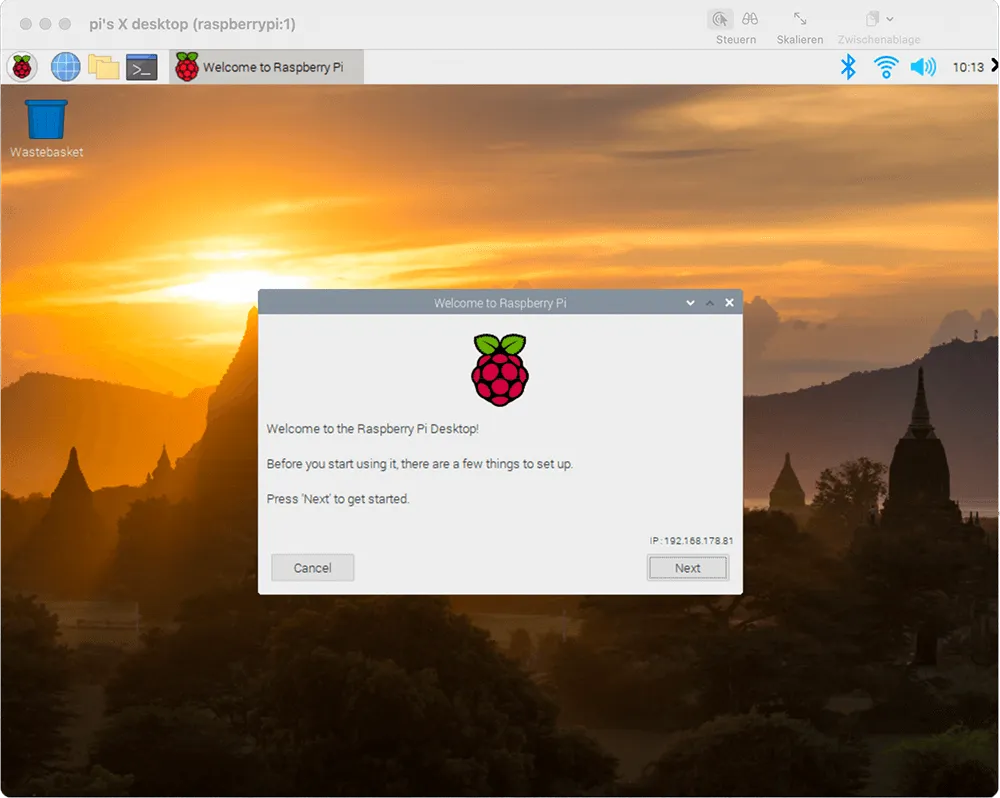
VNC
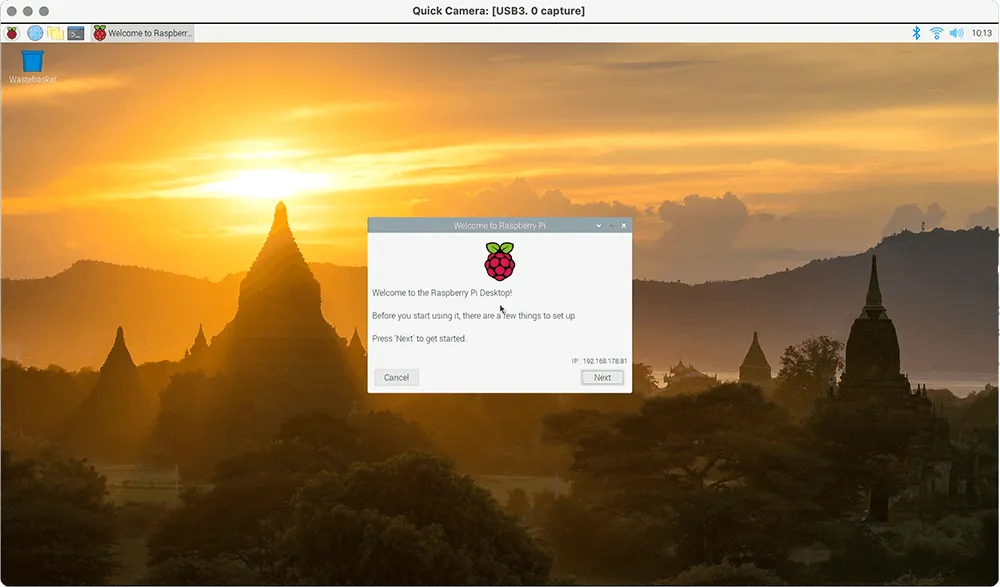
HDMI Video Capture
The advantage of VNC is that you can use your Mac keyboard and mouse to control your Raspberry Pi and that you can use it on remote computers as long as you can access them via IP.
Conclusion
For the price of a takeaway meal, you can save the expense of an external monitor for your Raspberry Pi if you only need a screen for testing anyway. The HDMI Video Capture Card works very well, and I am glad I found this little gadget.
Was this article helpful?
Thank you for your support and motivation.